Ceres Optical Music Recognition System
This tutorial is intended to give a brief introduction to the interface and key operations of Ceres OMR system.
Launch the System and Read Scores
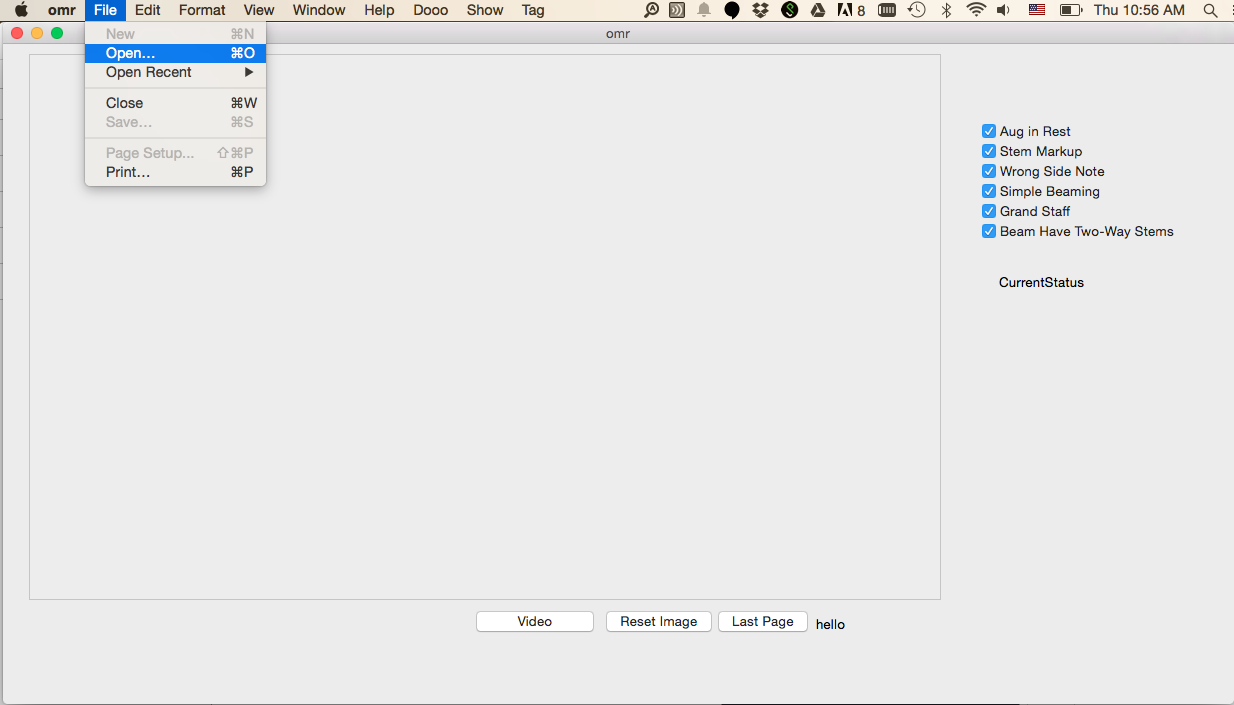
The system can only read BMP image for now. Load the score image through "File" -> "Open" or click on "Last Page" if you want to revisit the previous page.
Preprocessing
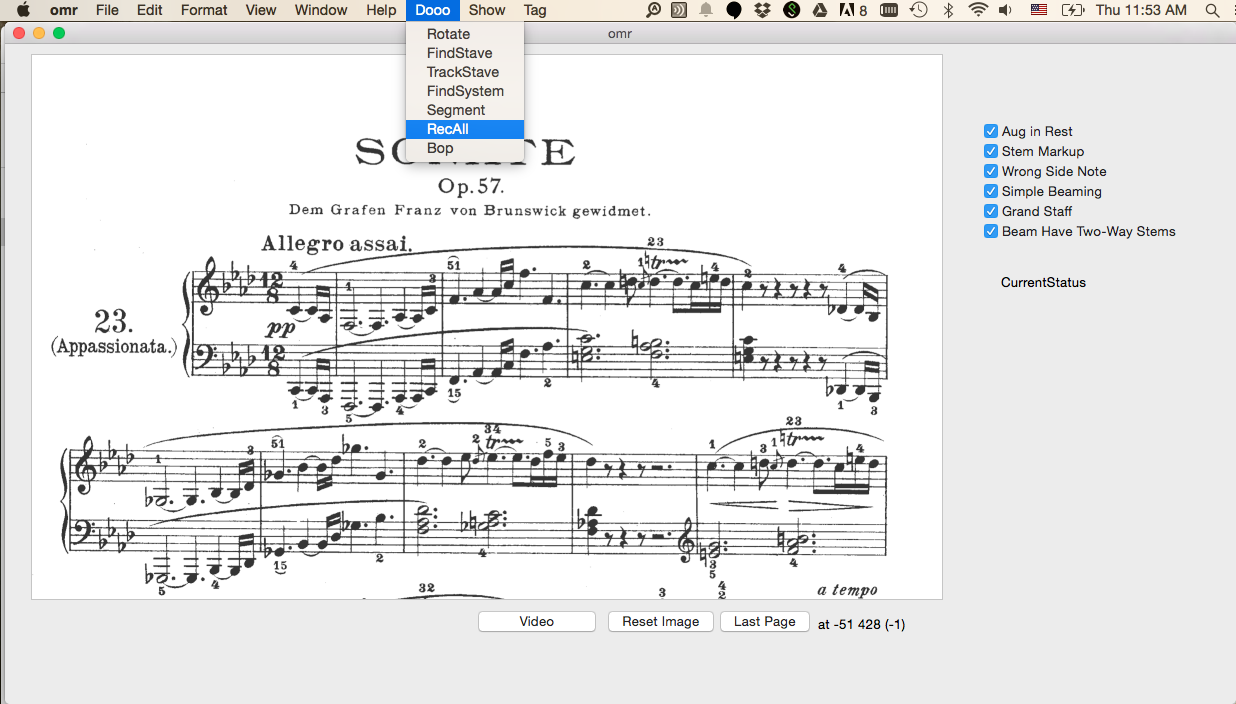
Take the preprocessing steps from "Rotate" to "Segment" sequentially if they're not done. Check the segmentation results from "Show" -> "Measure Association".
Measure Initilization
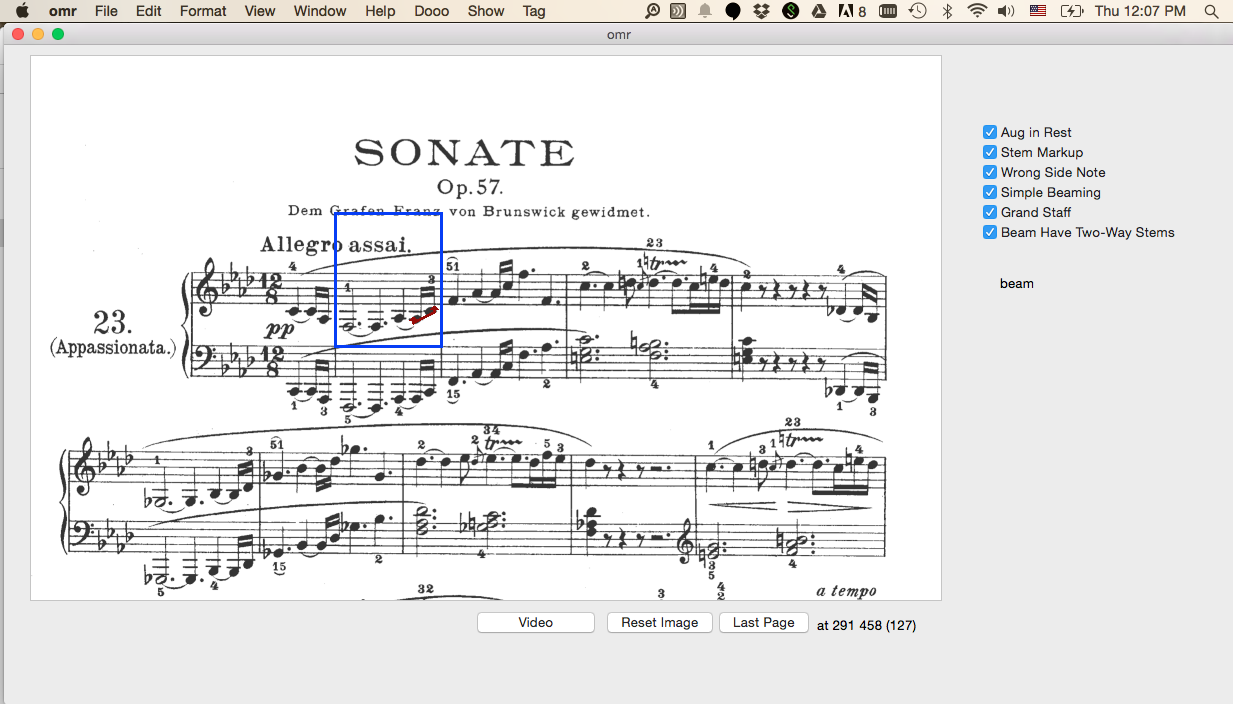
Click on any measure you want to work on. There will be a blue bounding box showing up to highlight the selected region. System will automatically identify symbol candidates for you.

Special Case
If the measure is the leftmost one on the staff, system will first identify the clef and key signatures, and then you're directed to the symbol recognition step (please refer to Symbol Recognition) where you're able to correct errors. The whole process is the same as fixing other symbol errors. Press "return" or "e" to save the recognized symbols.
Candidate Switch
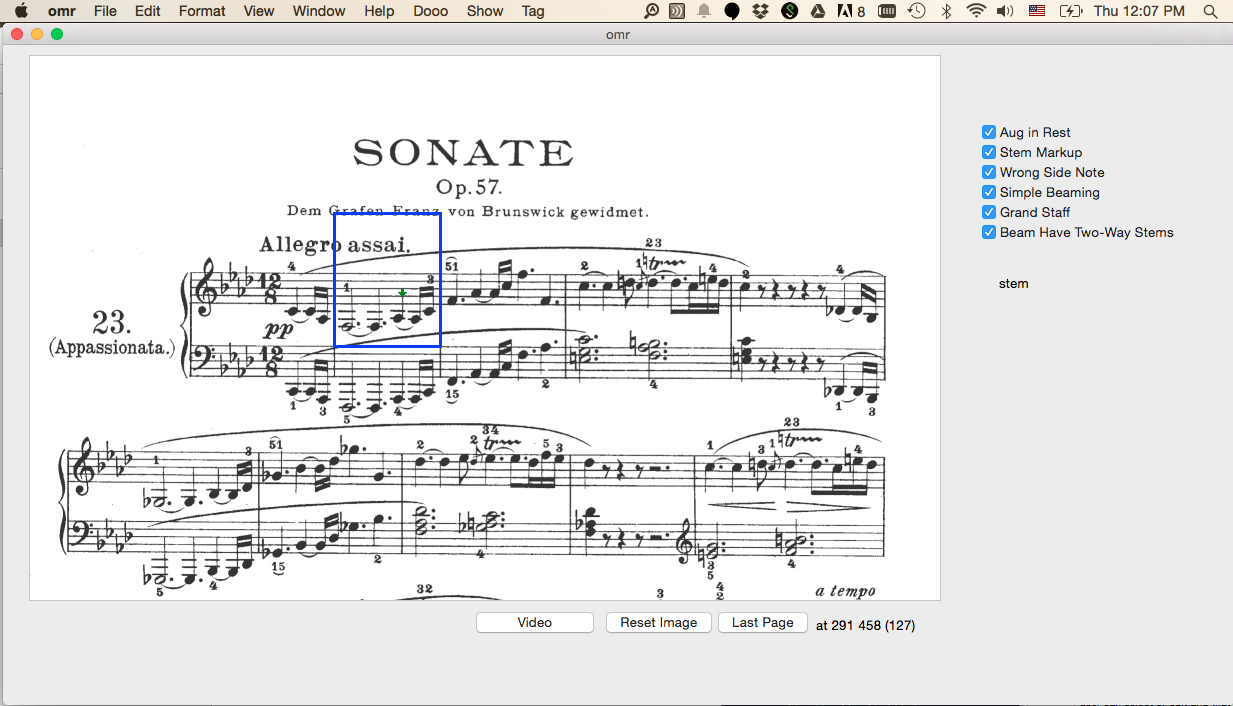
Press "Up" or "Down" to switch to a different candidate category: beam, chord, whole note, slur, hairpin, dynamics text.
Press "Left" or "Right" to page through different candidates in the same category.
Every time you don't favor the current set of candidates, press "c" to refresh the candidates.
The system also allows us to add candidates at any point. We can only add the candidates in the current category. The way of adding candidates is by clicking different endpoints for different symbols:
- Beamed Group: left beam corner -> right beam corner.
- Note Stem: stem endpoint
- Slur: left endpoint -> right endpoint
- Hairpins: top point -> origin -> bottom point
In the candidate selection step, we can also press keys to move over to other categories. This is potentially a more efficient way to do category switch:
- b -> beamed group
- n -> note stem
- w -> whole notes
- h -> hairpins
- s -> slur
- d -> dynamic text
- i -> isolated symbols (rests, small clefs, etc.) Note that this category will be directly recognized, no need to press "r" for recognition.
Symbol Recognition
After selecting desired candidate, we can move on to recognize the corresponding symbol by pressing "r".
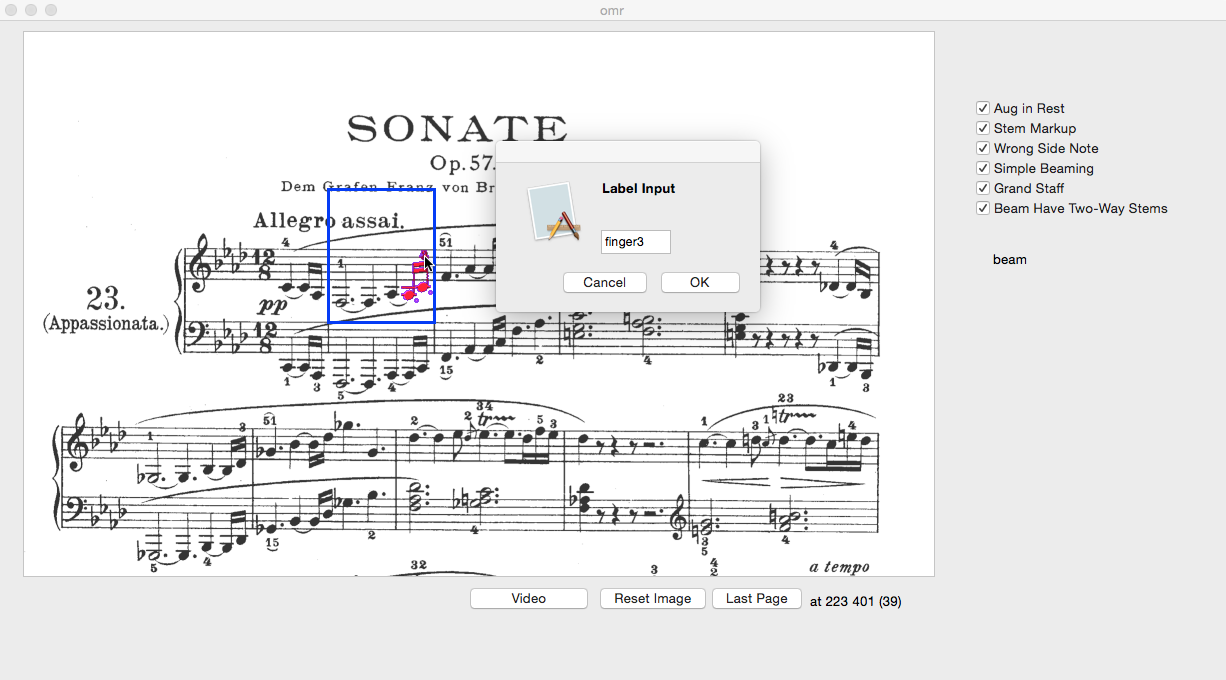
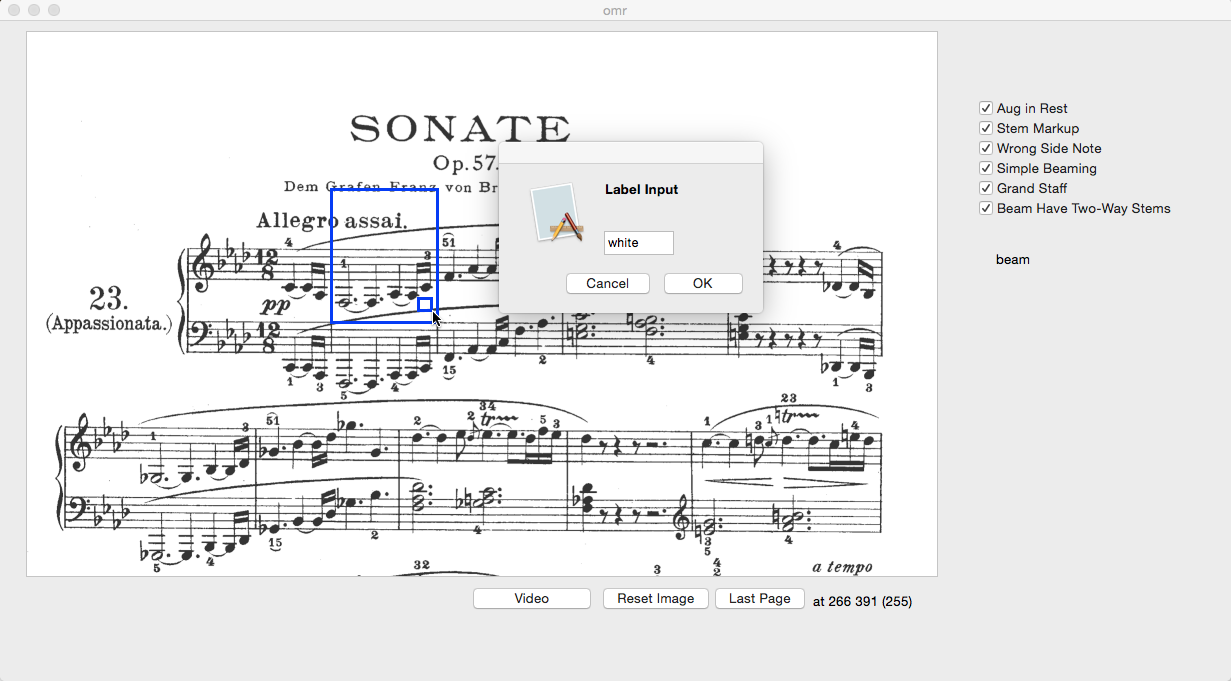
If you see any recognition errors, click on the position where error occurs, and input the corresponding label in the message box. The acceptable primitive labels are listed here.
You may also want to drag a bounding box for the "reuse" or "white" labels.
Once a symbol is correctly recognized, press "RETURN" or "e" to save the current symbol, and the system will automatically prompt you to the next symbol candidate.
Measure Change
Press "g" to move to the next measure.
Press "Esc" and click to move to any other measure.
Change Settings
Take care of the check boxes on the right showing different symbol recognition settings. These include the maximal number of fingerings, stem-side markups, grand staff option, to name a few. Change the settings to appropriate ones so that the symbol can be correctly recognized.
Special Operation
At any time if you want to cancel our current operation, press "ESC". This will lead you to resume to the initial state and allow you to work from Measure Initialization again.
Press Space to observe the data underneath the colored mask. The uncovered ROI is around your mouse position.
To delete saved symbols, please move onto the top of the target symbol; when the color turns red, press DEL.